If you have decided on interior waterproofing for your Toronto basement, the next question is: what exactly is about to happen to your basement for the next few days? Understanding the process helps you prepare the space, know what to expect in terms of noise and dust, and confirm that the contractor is doing the work correctly.
This guide walks through every stage of a properly installed interior basement waterproofing system, from the first saw cut to the final pump test.
Before Work Begins: What Homeowners Need to Do
Before the waterproofing crew arrives, the basement needs to be cleared. Interior waterproofing installation requires access along the full perimeter of the basement floor.
Items to remove or protect before installation day:
- All stored items within 3 feet of the perimeter walls
- Any finished wall material along the perimeter (framing, drywall, and insulation must be removed before the drainage channel is installed; this work is sometimes done by the waterproofing contractor and sometimes expected to be done by the homeowner in advance)
- Mechanical equipment that sits against perimeter walls (water heaters, furnaces) may need temporary repositioning for sump pit installation
Confirm with your contractor at the time of quoting whether they remove existing finishing (framing, drywall) as part of their scope or whether you are expected to do this in advance.
Also confirm the discharge line routing before work begins. The sump pump discharge must exit the building and terminate away from the foundation. Know where this line will run before installation day.
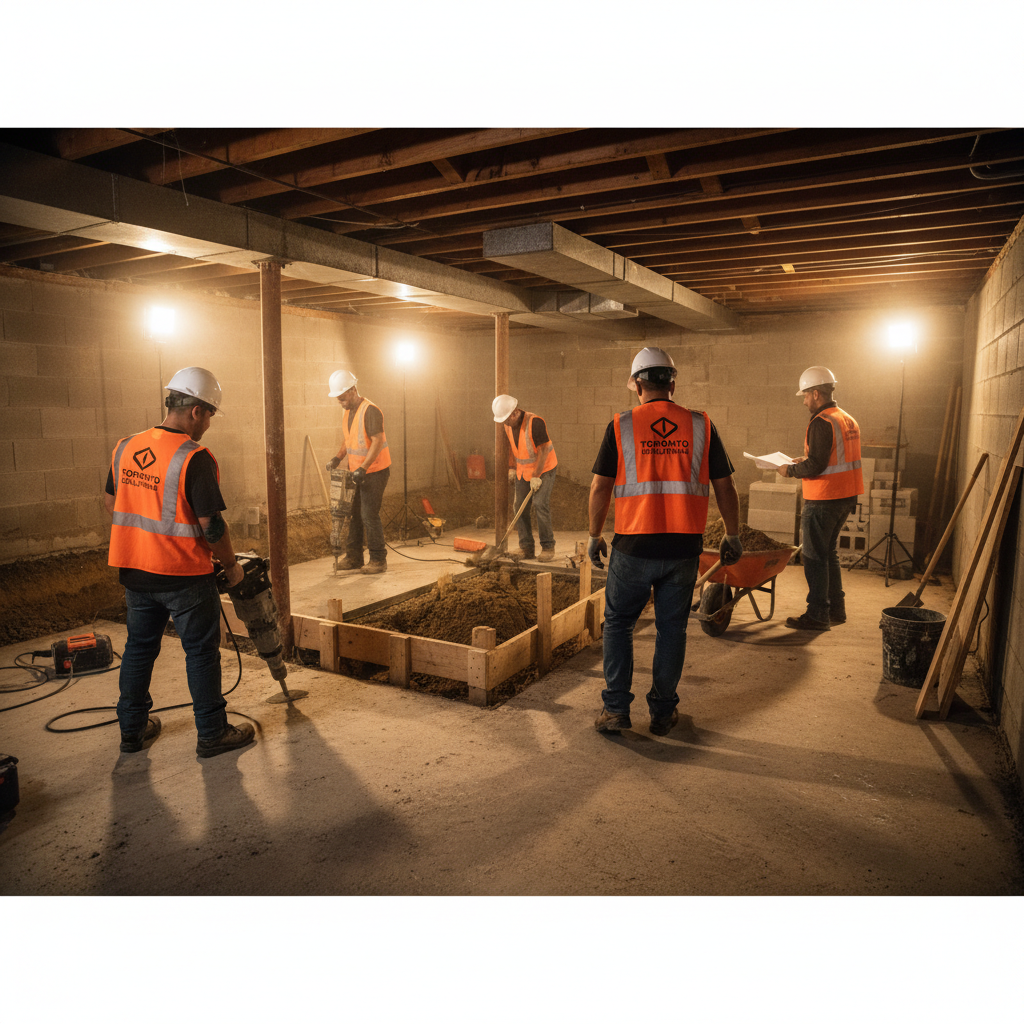
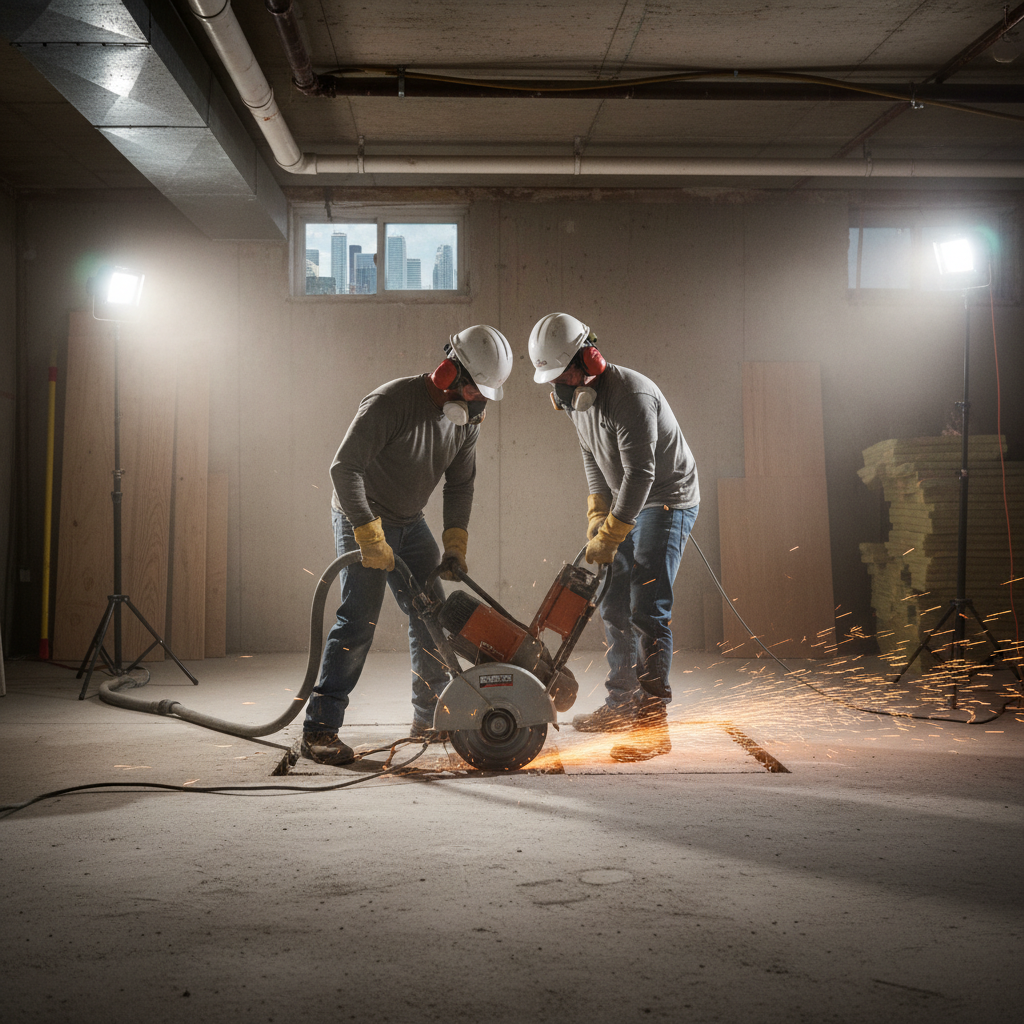
Stage 1: Saw Cutting the Perimeter Channel
The crew begins by using a concrete saw to cut a channel approximately 50mm to 75mm (2 to 3 inches) wide along the perimeter of the basement floor, typically 4 to 6 inches from the foundation wall.
This is the loudest and dustiest phase of the project. Commercial wet-cutting saws with vacuum attachment reduce dust significantly, but some dust is unavoidable. Dust barriers at the basement doorway are essential.
The channel is cut to a depth that reaches just below the existing slab level, typically 4 to 6 inches of cut depth depending on the slab thickness.
Stage 2: Excavation and Sump Pit Installation
Simultaneously with or immediately following the saw cutting, the crew excavates the sump pit location. A typical residential sump pit is 18 to 24 inches in diameter and excavated to approximately 36 to 42 inches depth below the slab.
The pit liner (a perforated plastic cylinder or precast concrete ring) is set in the excavated pit. The perforations in the liner allow groundwater to enter the pit from the surrounding soil.
The sump pit location is chosen to be at the lowest point in the drainage system, typically at one corner of the basement where the drainage channel slope naturally directs flow.
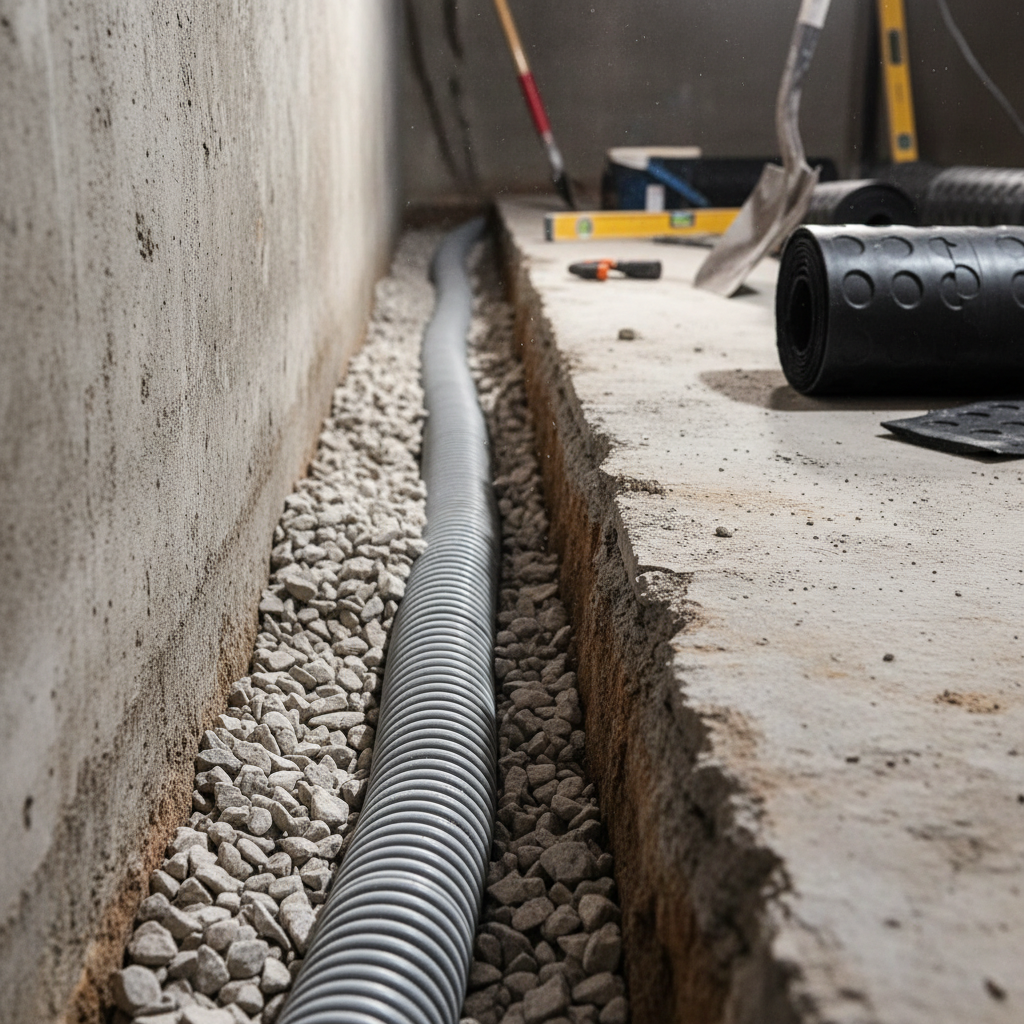
Stage 3: Installing the Drainage Channel
With the perimeter channel cut and excavated, the drainage system is installed.
The most common systems used in Toronto basements are:
- PVC drain tile pipe (4-inch perforated): Laid in a gravel bed in the channel, sloped toward the sump pit at a minimum gradient of 1 to 2 percent
- Delta MS drainage channel: A pre-formed plastic drainage strip that integrates with the wall membrane system
Both systems collect water at the base of the foundation wall and direct it to the sump pit. The channel is set in washed gravel (not fine gravel, which would clog the perforations) and the drain holes face downward or sideways, not upward.
Slope is critical. If the drainage channel has zero slope or reverse slope in any section, water will sit in the channel rather than flowing to the sump pit. A good installer checks slope continuously with a builder’s level.
Stage 4: Installing the Dimple Membrane on Walls
The Delta MS (or equivalent brand) dimple membrane is installed on the foundation walls from the drainage channel upward, typically to a height of 1 to 1.2 metres above the floor. Some installations carry the membrane to the full wall height.
The membrane is attached to the wall using concrete fasteners and is sealed at the top edge with a termination bar or foam sealant to prevent air and humidity from entering behind the membrane.
The dimple structure of the membrane creates an air gap between the concrete wall and the membrane face, allowing water that migrates through the wall to drain down the face of the membrane into the drainage channel below.
Stage 5: Primary Sump Pump Installation
Once the pit liner is in place and the drainage channel connects to the pit, the primary sump pump is installed.
A properly specified primary sump pump for a Toronto basement includes:
- Minimum 1/2 HP motor with cast iron or stainless steel construction (not plastic)
- Float switch (either vertical float or tethered float, depending on pit size)
- Check valve on the discharge line to prevent backflow
- Discharge pipe routed to daylight a minimum of 1.5 metres from the foundation wall
The discharge line is typically 1.5-inch PVC pipe. It may run through the wall, through the floor, or up through the rim joist depending on the configuration of the home.
Stage 6: Concrete Patching
After the drainage channel and membrane are installed and the sump pump is roughed in, the open concrete channel is backfilled with fresh concrete. The top of the new pour is finished flush with the existing basement floor.
The patch is textured to match the surrounding concrete as closely as possible, though some colour difference between new and old concrete is normal and will fade over 6 to 12 months.
The concrete over the drainage channel must cure for 24 to 48 hours before foot traffic is allowed on it. Full structural strength takes 28 days.
Stage 7: Pump Testing and Final Inspection
Before the crew packs up, the system is tested:
- Water is poured directly into the sump pit to confirm the float switch activates the pump at the correct water level
- The pump is allowed to run until the pit is empty to confirm the discharge is flowing properly and the pump shuts off at the correct level
- If a battery backup is installed, the primary power is disconnected to confirm the backup activates
- The discharge line termination point is confirmed to be clear and flowing
The plumbing inspector will also perform a final inspection of the sump pump installation. This inspection confirms the discharge connection, any floor drain connections, and the pump operation.
What the Finished System Looks Like
After installation is complete:
- The perimeter concrete shows a neat patch along the wall perimeter where the channel was cut and filled
- The dimple membrane is visible on the lower portion of the foundation walls until framing and drywall are installed
- The sump pit has a sealed lid at floor level
- The discharge pipe exits the building at a visible point on the exterior
The drainage channel itself is invisible below the concrete. You will never see it working unless you remove the concrete, which you should never need to do.
Duration: Typical Project Timeline
| Project Type | Duration |
|---|---|
| Small semi-detached, partial perimeter (80 LF) | 2 days |
| Standard detached, full perimeter (130 to 150 LF) | 3 to 4 days |
| Large home, full perimeter with two sump pits | 4 to 5 days |
| Any project with significant pre-work (demo existing finishing) | Add 1 to 2 days |
For further context, read our guides on How Long Does Interior Waterproofing Last? and Waterproofing During Underpinning.
Ready to get your Toronto basement waterproofed by a team that does the job right? Contact our team for a site assessment and a complete, itemized waterproofing quote.