Finishing a basement is not a single project, it is eight distinct projects that must happen in a specific sequence. Skip a step or get the order wrong and you face costly rework: imagine taping drywall over uninsulated walls, or discovering after painting that you needed a sub-panel upgrade that now requires tearing open the ceiling.
This guide walks through all eight stages of basement finishing in order, explains what happens at each stage, identifies the inspection hold points you cannot skip, and flags the decisions you must make before each stage can proceed.
Stage 1: Design and Permits (6 to 14 Weeks)
Everything starts with the design and permit phase. For any basement finishing project that creates habitable rooms, adds a bathroom, or modifies electrical or plumbing, a building permit from the City of Toronto is required.
The permit package typically includes:
- Architectural drawings showing room layout, window sizes, ceiling heights, stair configuration
- Mechanical schedule (HVAC register locations)
- Electrical plan (if included in the building permit; sometimes handled separately by ESA)
- Plumbing plan for any new drain locations
Toronto building permits for basement finishing projects currently take 6 to 12 weeks for plan review and permit issuance. Add 2 to 4 weeks for drawing preparation, and you are looking at 8 to 14 weeks before a hammer swings.
Key decisions at this stage:
- Final room layout and partition wall locations
- Bathroom location (must align with any below-slab plumbing rough-ins already in place)
- Secondary suite or single-family use (different code requirements apply)
- Ceiling height (confirm after accounting for all finishes)
- Egress window requirements for bedrooms
Learn more about the building permit process and what to expect.
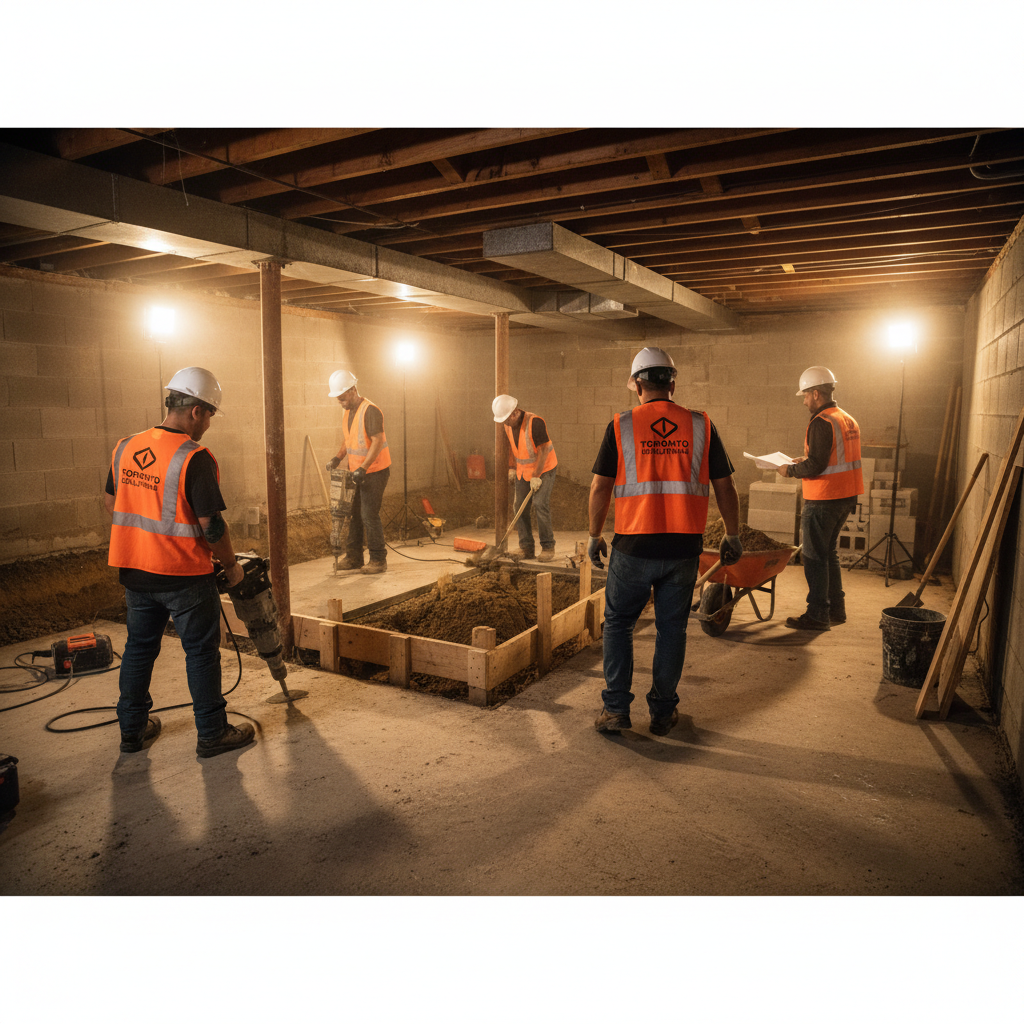
Stage 2: Rough Framing (4 to 10 Days)
With the permit in hand, framing begins. This is when the skeleton of your basement takes shape.
Framing includes all partition walls, closets, stair enclosures, bulkheads around beams and ducts, ceiling channels, and any special framing for built-in features or entertainment centres.
Inspection hold point: A framing inspection is required before insulation can be installed. Do not proceed to insulation until the inspection passes.
Key decisions at this stage:
- Exact heights of partition walls (affects drywall sheet layout and electrical box heights)
- Closet configurations
- Bulkhead depth for any ductwork that cannot be rerouted
Stage 3: Rough Electrical (3 to 5 Days)
Rough electrical involves running all wiring through framed walls and ceiling before insulation and drywall. Every outlet box, switch box, ceiling light box, exhaust fan wire, and panel circuit gets run and rough-labeled.
Inspection hold point: The Electrical Safety Authority (ESA) requires a rough-in inspection before electrical is concealed behind drywall or insulation. Your electrician schedules this. Do not insulate or drywall over rough electrical until the ESA inspection is passed.
Key decisions at this stage:
- Outlet placement (plan for more than the OBC minimum)
- Lighting layout (pot light locations, switches, dimmers)
- Sub-panel requirement for a suite or high electrical demand
- Panel upgrade if the home’s main service is 100 amps or less
Stage 4: Rough Plumbing (2 to 5 Days)
Rough plumbing connects below-slab stubs (installed during the slab pour or cut in after) to above-slab rough-in heights for toilets, shower drains, and sink connections. Supply lines are roughed to their approximate fixture locations.
Inspection hold point: A plumbing rough-in inspection is required before pipes are concealed. Your plumber schedules this with the city.
Key decisions at this stage:
- Confirm bathroom fixture layout (toilet rough-in is typically 12 inches from finished wall; confirm now before tiling)
- Wet bar or laundry sink location if not already in the design
- Water supply line routing (minimize length to reduce heat loss in an unheated chase)
If below-slab plumbing rough-ins were not installed during the original slab pour, this is when concrete cutting happens ($1,500 to $4,000 per drain location). This delays the project by 3 to 7 days for concrete to re-cure.
Stage 5: HVAC Rough-In (2 to 4 Days)
Heating and cooling rough-in extends existing ductwork to serve the new basement rooms. This includes supply registers, return air connections, bathroom exhaust fans, and any new HRV or mini-split installation.
For secondary suites, OBC Section 9.36 requires that the suite have a heat source controllable by the tenant. This typically means a dedicated zone valve or separate thermostat on the forced-air system, or a separate electric baseboard or mini-split.
HVAC routing must be coordinated with the framing layout to avoid conflicts. Ducts that were not planned for during framing end up in soffits that eat ceiling height.
Stage 6: Insulation and Vapour Barrier (1 to 3 Days)
Ontario’s climate zone requires basement walls to be insulated to OBC minimums. The preferred method for below-grade concrete walls is closed-cell spray foam (2 inches minimum, RSI 3.5) or rigid XPS foam board (2 to 3 inches). Both provide vapour control without a separate poly vapour barrier. Standard batt insulation against a concrete wall is not recommended and will fail in a Toronto winter.
What to confirm:
- Specified RSI value on your permit drawings
- Vapour barrier continuity (no gaps around windows, pipes, or electrical boxes)
- Insulation around rim joists (a major thermal bridge in older Toronto homes)
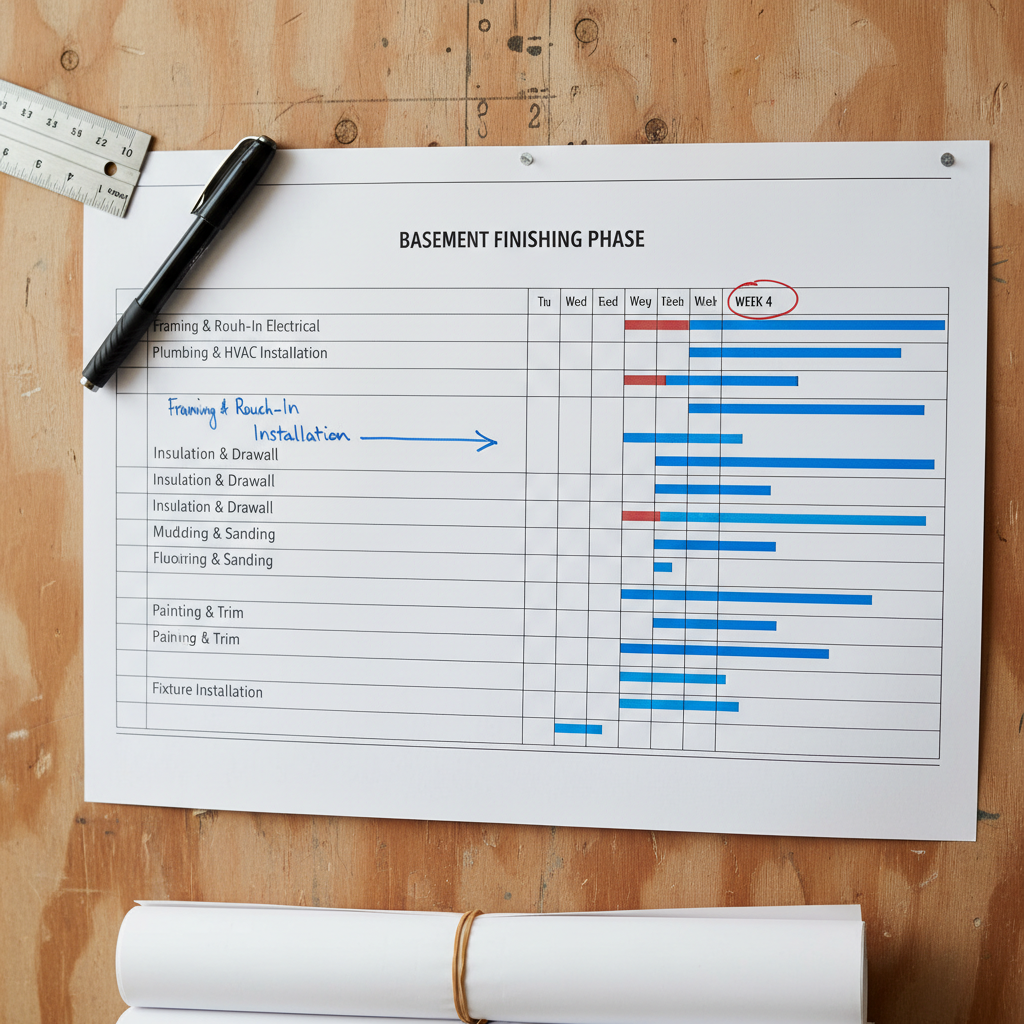
Stage 7: Drywall, Taping, and Painting (8 to 14 Days)
Drywall installation, taping, mudding (typically three coats), sanding, and painting. For basement suites, fire-rated Type X drywall is required on the ceiling assembly between the suite and the floor above, forming the required fire separation.
Timeline includes:
- Day 1 to 2: Drywall installation
- Day 3 to 5: First and second mud coat with drying time
- Day 6 to 8: Third coat and sanding
- Day 9 to 11: Primer and finish paint
Dust from sanding drywall is fine and pervasive. Good dust containment at the basement entry is important during this phase.
Stage 8: Finishes and Flooring (5 to 14 Days)
The final stage covers everything that makes the basement feel finished:
- Flooring installation (LVP, engineered hardwood, or tile)
- Trim installation (baseboards, door casings, stair nosings)
- Fixture installation (light fixtures, outlet covers, switch plates)
- Bathroom tile and fixture installation
- Cabinet installation if applicable
- Final hardware
Inspection hold point: After finishes are complete, the building permit final inspection, ESA final electrical inspection, and plumbing final inspection all occur. All three must pass before occupancy or suite registration.
Complete Timeline Summary
| Stage | Duration | Hold Points |
|---|---|---|
| Design and permits | 8 to 14 weeks | Permit issuance |
| Rough framing | 4 to 10 days | Framing inspection |
| Rough electrical | 3 to 5 days | ESA rough inspection |
| Rough plumbing | 2 to 5 days | Plumbing rough inspection |
| HVAC rough-in | 2 to 4 days | None typically |
| Insulation | 1 to 3 days | Insulation inspection |
| Drywall and painting | 8 to 14 days | None typically |
| Finishes and flooring | 5 to 14 days | Building, ESA, plumbing finals |
| Total construction | 8 to 14 weeks | |
| Total project (permit to final) | 4 to 6 months |
Secondary Suite Registration After Permit Close-Out
If your basement is being finished as a legal secondary suite, permit close-out is not the last step. After all permits are closed, you must register the suite with the City of Toronto through the Multi-Tenant Housing Registry. Registration confirms the suite meets all OBC and zoning requirements and allows you to legally advertise and rent the unit.
Registration fees are modest ($200 to $500), but the process requires uploading permit close-out documentation. Keep all inspection reports and permit close-out letters.
For further context, read our guides on Legal Basement Apartment Requirements and Basement Ceiling Height Requirements.
Ready to start your basement finishing project? Contact our team for a consultation that covers design, permits, and construction in one coordinated package.