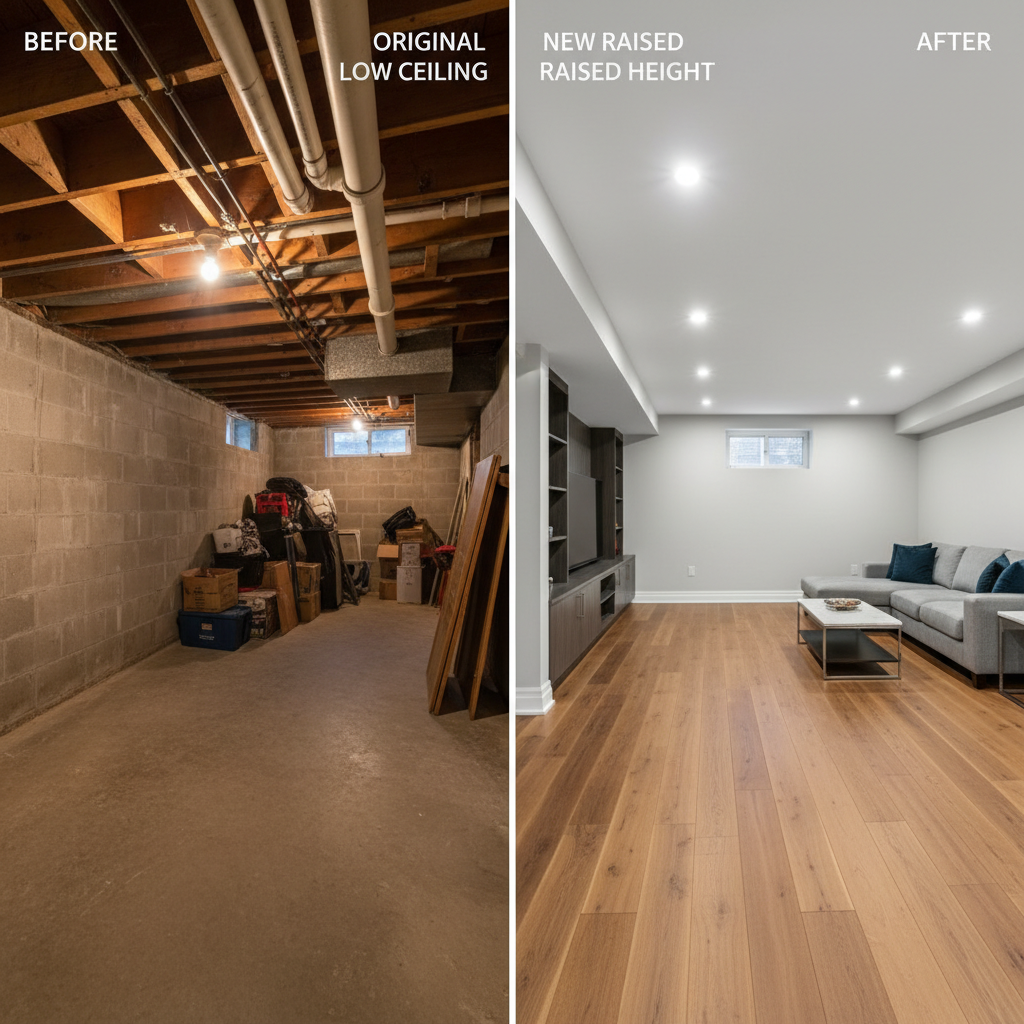
If you have ever stood in your Toronto basement and felt the ceiling pressing uncomfortably close, you are not imagining things. The majority of homes built before 1960 in neighbourhoods like The Junction, Roncesvalles, and East York were constructed with basements intended for storage and mechanical equipment, not living space. Ceiling heights of 6 feet 2 inches to 6 feet 8 inches were standard practice for decades. Today, those dimensions create a real problem when homeowners want to legally finish the space, create a rental unit, or simply use the basement comfortably.
This guide explains exactly what the Ontario Building Code requires, how height is measured in practice, what your typical Toronto home likely has, and which solution makes sense for your situation.
What the Ontario Building Code Actually Says
The OBC does not use a single universal ceiling height. The requirement depends on how the space will be used.
Section 9.5.3.1: Habitable Rooms
For any room intended as habitable space (bedroom, living room, kitchen, dining room) in a finished basement, OBC Section 9.5.3.1 sets the minimum at 2.1 metres (6 feet 11 inches). This applies to rooms where people will regularly live, sleep, or spend extended time.
The code specifies this measurement applies over at least 50 percent of the floor area. A room can have a sloped ceiling or areas with lower clearance, as long as the majority of the usable floor area meets the 2.1m threshold.
Section 9.36: Secondary Suites (Basement Apartments)
If the basement will be used as a legal secondary suite, OBC Section 9.36 applies. The minimum ceiling height for a secondary suite is 1.95 metres (6 feet 5 inches).
This slightly lower threshold was designed to help more existing Toronto homes qualify for secondary suite registration. The 15 cm difference sounds small, but it matters enormously when deciding whether underpinning is necessary.
Utility and Mechanical Spaces
The OBC does not impose the 2.1m or 1.95m requirements on non-habitable areas such as laundry rooms, mechanical rooms, storage rooms, or utility corridors. These spaces can have lower clearance without triggering a code violation.
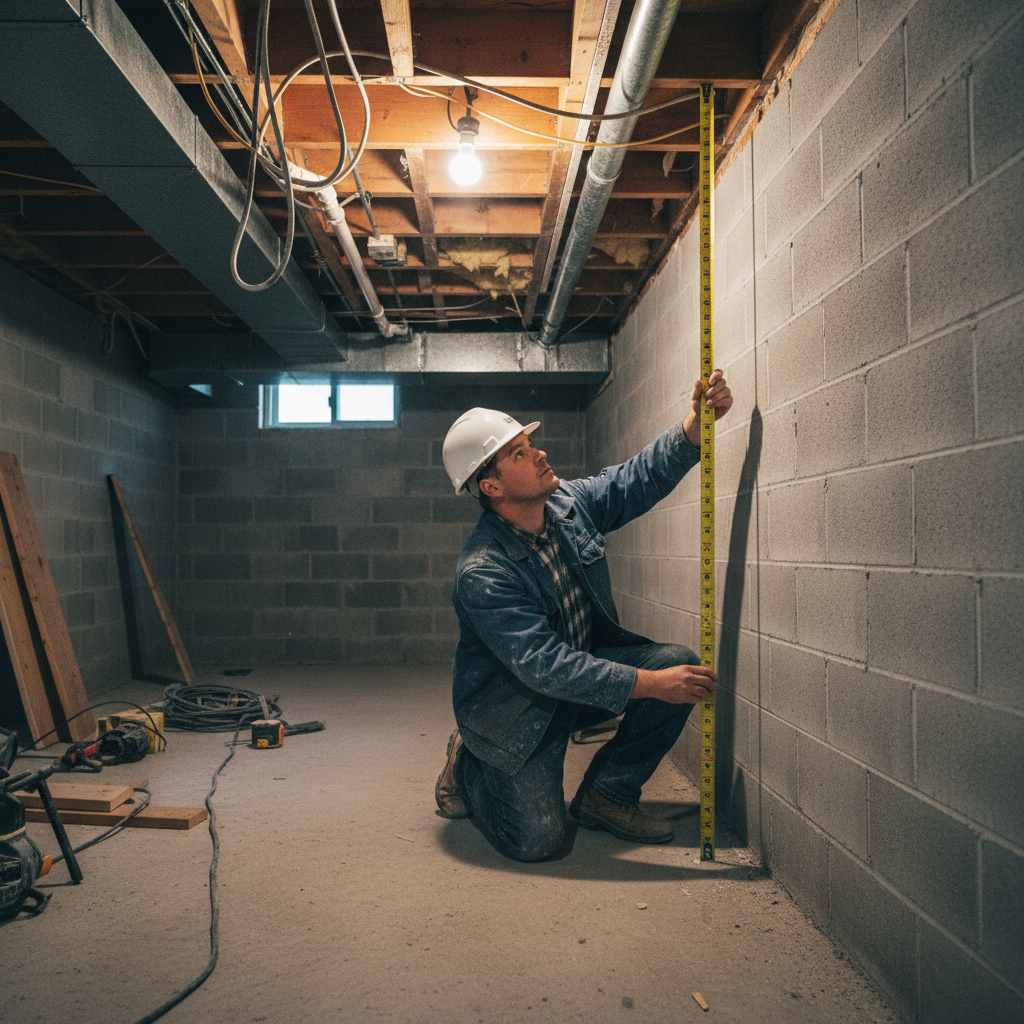
How Ceiling Height Is Measured Correctly
Many homeowners measure from the raw concrete floor to the underside of the floor joists above and assume that is the finished ceiling height. This approach almost always produces an overly optimistic number.
The correct measurement is: finished floor surface to the lowest obstruction after all finishes are installed.
Here is what that means in practice:
- The finished floor adds 1.5 to 3 inches depending on whether you choose engineered hardwood, laminate, vinyl plank, or tile over a subfloor
- The ceiling finish (drywall plus resilient channel or furring) adds another 1.5 to 2 inches minimum
- Beams, ducts, pipes, and sprinkler heads must be accommodated within the finished ceiling or boxed out below it
If your raw concrete floor to floor joist underside measures 7 feet (2.13m), after a 2-inch finished floor and a 1.5-inch drywall ceiling, your finished height drops to approximately 6 feet 8.5 inches (2.04m). That still meets the 2.1m requirement if measured correctly, but any beams or ducts protruding below that plane would fail the inspection.
The building inspector measures from the finished floor surface to the lowest point in the room. Ducts and beams are not exempt simply because they are structural.
Typical Ceiling Heights in Toronto Homes by Era
Understanding what your home likely has before opening walls saves time during the assessment phase.
| Construction Era | Typical Raw Height | Likely Finished Height | Meets 2.1m Code? |
|---|---|---|---|
| Pre-1930 (Annex, Cabbagetown, Parkdale) | 6’0” to 6’4” | 5’8” to 6’1” | No |
| 1930 to 1945 (Riverdale, East York) | 6’2” to 6’8” | 5’10” to 6’4” | No |
| 1945 to 1960 (North York, Etobicoke) | 6’4” to 6’10” | 6’1” to 6’6” | No |
| 1960 to 1980 (Scarborough, Don Mills) | 6’8” to 7’2” | 6’4” to 6’10” | Borderline |
| Post-1980 | 7’0” to 8’0” | 6’8” to 7’8” | Usually yes |
The homes most commonly needing height solutions are those built before 1960. In Toronto, that includes enormous swaths of pre-war and immediate post-war housing stock in Leslieville, Bloor West Village, High Park, and older Etobicoke.
Your Three Options When the Ceiling Is Too Low
When raw height is insufficient to finish legally, you have three main structural options.
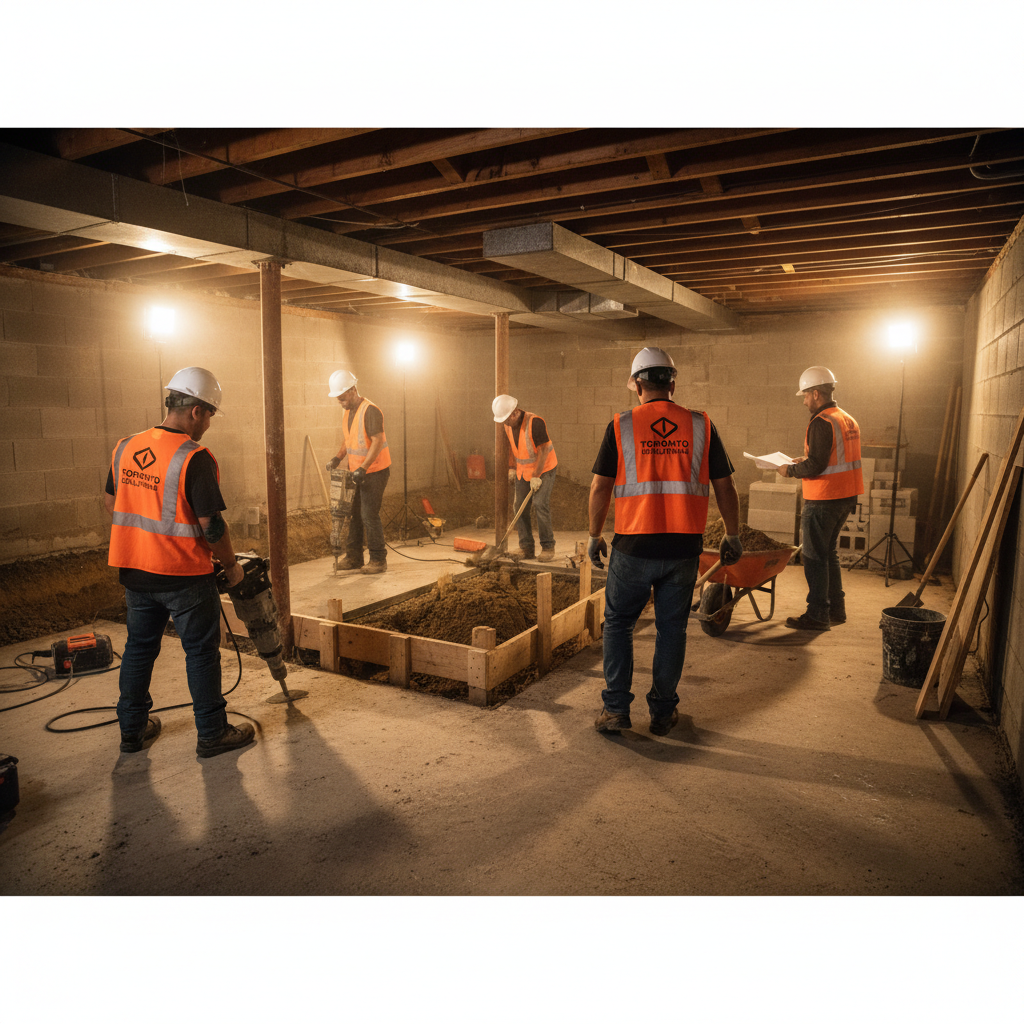
Option 1: Full Underpinning
Underpinning involves excavating the soil beneath the existing foundation footings and pouring new, deeper concrete footings, then lowering the basement floor to match. This increases ceiling height by the full amount of excavation, typically 12 to 24 inches (300mm to 600mm).
Full underpinning maximizes height gain and creates maximum usable floor area without consuming any perimeter space. It is also the most expensive and the most disruptive approach. Typical cost in Toronto ranges from $50,000 to $120,000 depending on perimeter length, soil conditions, access, and whether waterproofing and plumbing work is added simultaneously. Learn more about basement finishing planning after the structural work is complete.
Option 2: Bench Footing
A bench footing (sometimes called a bench wall) involves casting a new concrete ledge around the perimeter of the basement at the current footing level, then excavating and lowering only the central floor area. The perimeter retains a raised ledge, typically 450mm to 600mm wide.
Bench footing is 20 to 35 percent less expensive than full underpinning, but the trade-off is loss of floor area. In a small Toronto basement, that perimeter footprint is significant. Bench footing suits homes with enough width to absorb the ledge, or where budget constraints rule out full underpinning.
Option 3: Slab Lowering
In some cases, the existing foundation walls extend deep enough that the footing is already at the correct depth, but the slab was poured too high. Slab removal involves breaking up the existing concrete, excavating 8 to 12 inches, and pouring a new slab lower.
This is the least expensive option when structurally applicable, but it is only viable when the existing footing depth allows it. An engineer must confirm this. For pre-1920 Toronto homes with shallow footings, slab lowering alone is not safe without also extending the footings.
Cost and Trade-Off Comparison
| Method | Typical Cost (Toronto) | Floor Area Impact | Height Gain | Permit Required |
|---|---|---|---|---|
| Full underpinning | $50,000 to $120,000 | None | Up to 24 inches | Yes |
| Bench footing | $35,000 to $75,000 | Loses 18 to 24 inch perimeter | Up to 24 inches | Yes |
| Slab lowering only | $8,000 to $18,000 | None | Up to 12 inches | Yes |
When You Do NOT Need Underpinning
Not every Toronto home with a low basement requires structural work. Here are situations where underpinning is not the right call:
The space will be used for storage, mechanical, or laundry only. OBC height minimums for habitable spaces do not apply to non-habitable areas.
The existing height already meets the applicable standard. If your basement is 6’6” or better and you are only creating a secondary suite (not a standard habitable room), you may already comply with Section 9.36. Confirm with actual measurements after accounting for finishes.
A partial height obstruction can be resolved differently. If only one area of the basement (beneath a low beam or duct) fails to meet the minimum, rerouting that obstruction may resolve the issue without any structural work.
The home is post-1980. Most post-1980 Toronto construction has 7’0” to 8’0” raw basement heights, which comfortably meet code after finishes.
The Permit Process When Structural Work Is Required
Any of the three structural options above requires a building permit. For underpinning, the permit involves submitting engineered drawings and going through a staged inspection process. Learn more about the building permit process for underpinning and what to expect at each stage.
Permits for secondary suites also require a plumbing permit if you are adding a bathroom, and an ESA electrical inspection if you are adding circuits.
The permit stage typically adds 8 to 16 weeks before any physical work begins. Budget this into your planning timeline.
Neighbourhoods with the Most Ceiling Height Problems
Some Toronto neighbourhoods concentrate pre-1960 housing so heavily that height problems are nearly universal:
The Annex and Seaton Village: Largely pre-1930 housing, raw heights of 6’0” to 6’6” are typical.
Leslieville and East End: Mix of 1920s to 1940s stock, highly variable, often 6’2” to 6’8”.
Roncesvalles and Parkdale: Pre-war semi-detached and row housing, 6’0” to 6’4” common.
North York bungalows (Willowdale, Newtonbrook): 1950s to early 1960s construction, heights often 6’4” to 6’10”, borderline territory requiring careful measurement.
Etobicoke post-war suburbs: 1945 to 1965 housing, similar to North York in height range.
Getting an Accurate Assessment
The only way to know with certainty what your basement requires is a site visit with a tape measure, a builder’s level, and someone who understands both OBC requirements and structural options. Published norms by era are useful for planning, but individual homes vary significantly.
A proper assessment will take measurements at multiple points, identify the lowest obstruction (whether a beam, duct, pipe, or joist), and give you a clear picture of exactly how much height gain you need and which method achieves it most cost-effectively.
For further context, read our guides on Underpinning vs Bench Footing and Legal Basement Apartment Requirements.
Ready to find out exactly what your basement needs? Get a free assessment from our team and we will measure, advise, and give you a clear path forward.