Signing a contract for basement underpinning is a significant commitment. For most Toronto homeowners, it is the largest single renovation they will undertake. The construction involves structural work that affects the foundation of your home, a crew working in your basement for weeks, a succession of city inspectors, and a project timeline that is longer than almost any other renovation type.
Knowing what is coming at each stage makes the experience manageable. This guide walks through every phase of a basement underpinning project from the initial assessment through the new slab, describing what happens, what you can expect to see and hear, and what your responsibilities are as the homeowner at each stage.
Phase 1: Assessment and Pre-Construction (Weeks 1 to 4)
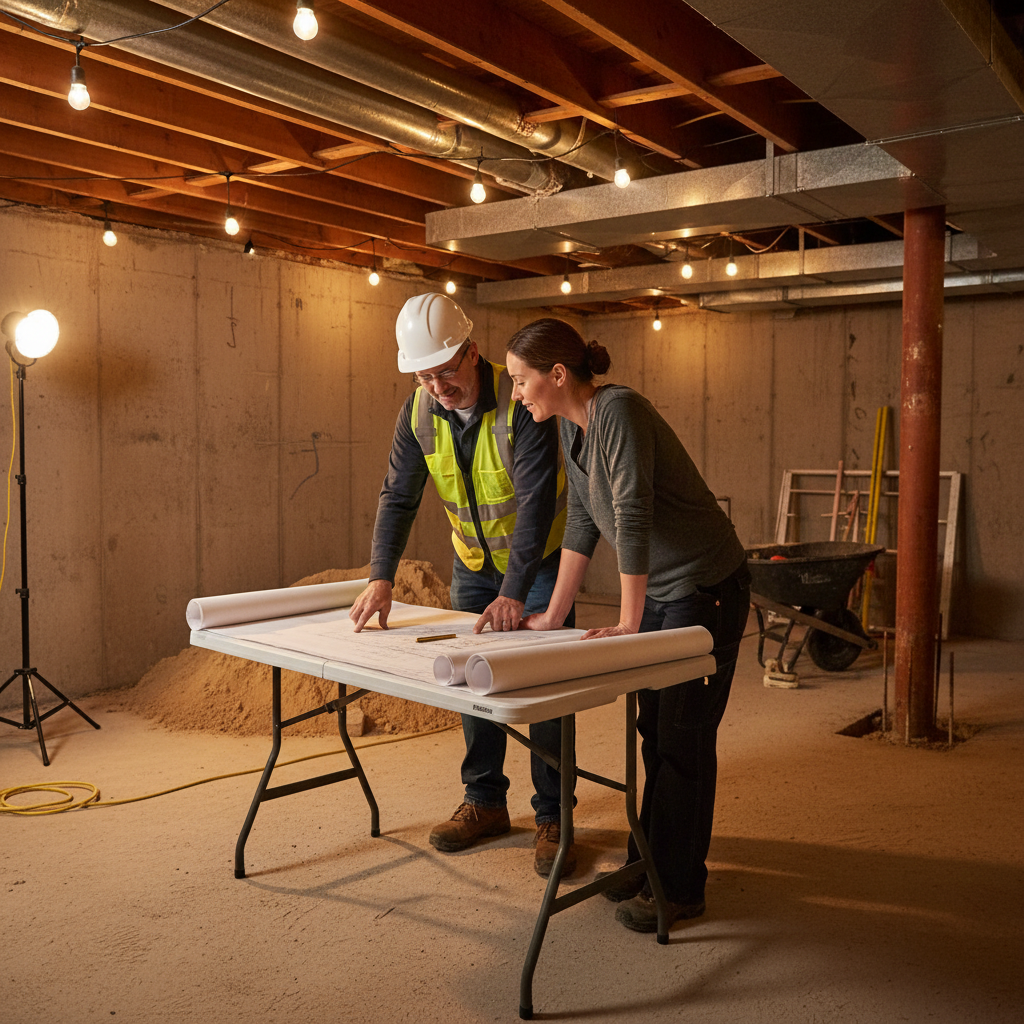
The project begins with a site assessment. A structural engineer or experienced contractor visits the basement to measure ceiling heights, inspect the existing footing dimensions, assess soil conditions, identify any special conditions (party walls, nearby utilities, existing cracks), and confirm that underpinning is the appropriate solution.
This visit results in a proposal that outlines the scope (depth of underpinning, perimeter length, inclusion of waterproofing or plumbing), cost, and timeline.
What you need to do during this phase:
- Be present for the assessment and ask all questions you have about the process
- Confirm your goals (height gain, secondary suite, finished basement) so the scope can be optimized
- If you own a semi-detached, initiate a conversation with your neighbour early in this phase
Phase 2: Engineering and Permits (Weeks 4 to 22)
After signing the contract, the permit process begins. The engineer produces sealed structural drawings, and the complete permit package is submitted to the City of Toronto.
This phase is the longest and most invisible part of the project from the homeowner’s perspective. The permit is sitting in the City’s review queue. There is nothing visible happening.
What to expect:
- 6 to 12 weeks of plan review by Toronto Building
- Potentially a deficiency letter requiring drawing revisions (adds 3 to 6 weeks)
- Permit fees paid at issuance ($2,000 to $4,000 for a typical underpinning project)
What you can do during this phase:
- Finalize the basement design for the finishing phase (room layout, bathroom location)
- Begin clearing items from the basement
- Start any pre-work on the exterior (removing decks, garden beds, or obstacles near the foundation)
This is also the right time to confirm your home insurance is active and covers the construction period. Contact your insurer with the permit number once issued.
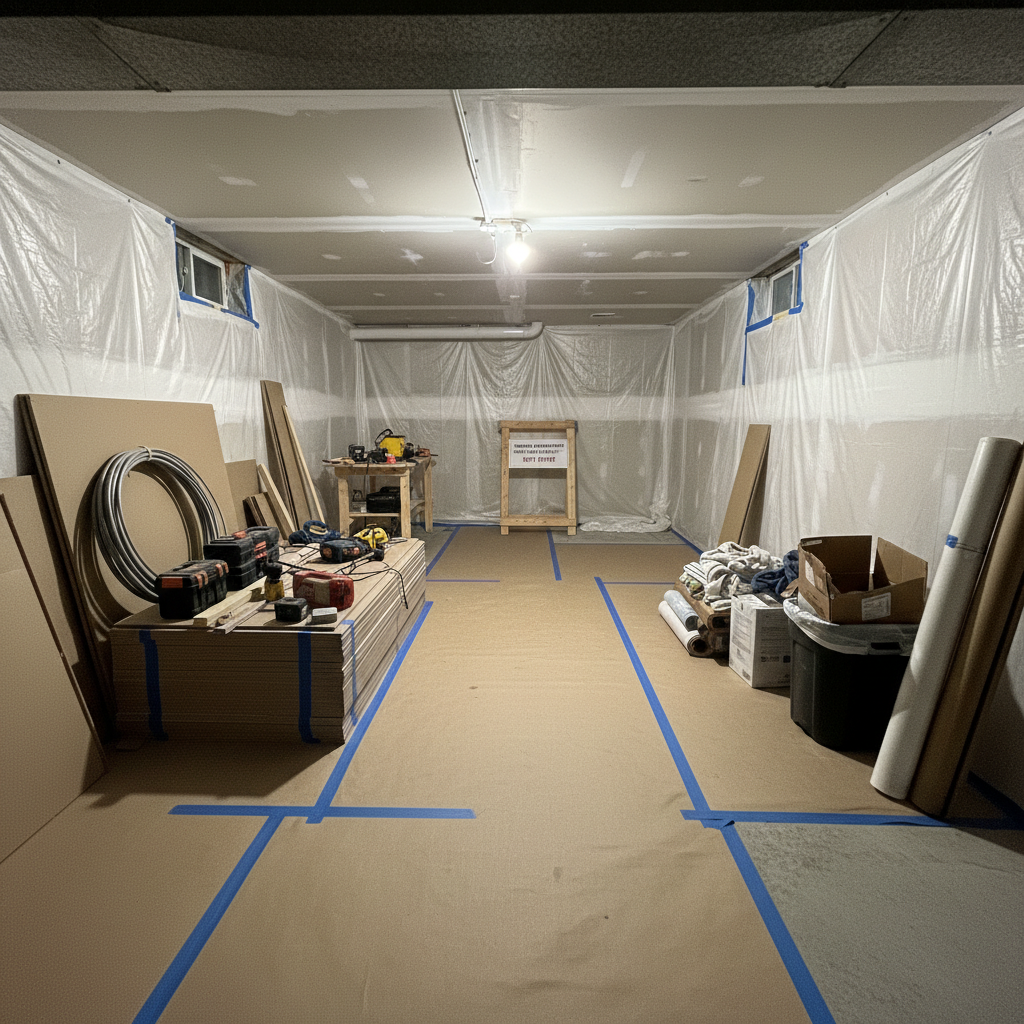
Phase 3: Site Mobilization (Day 1 to 2 of Construction)
Once the permit is in hand, the contractor mobilizes. This involves:
- Delivering equipment to the site (wheelbarrows, formwork, concrete supplies)
- Installing site protection (floor protection in the basement and any interior pathways)
- Locating and marking all utilities (gas, water, electrical, telecommunications) in the excavation area
- Setting up a concrete disposal area and waste management for excavated soil
What you will notice: A crew arrives with equipment. The basement becomes a construction site. Access to the basement is now restricted to crew members during working hours.
Your responsibility: Confirm the basement is fully cleared before mobilization. Any items left in the work area on mobilization day will need to be moved by the crew, which takes time and may be treated as out-of-scope.
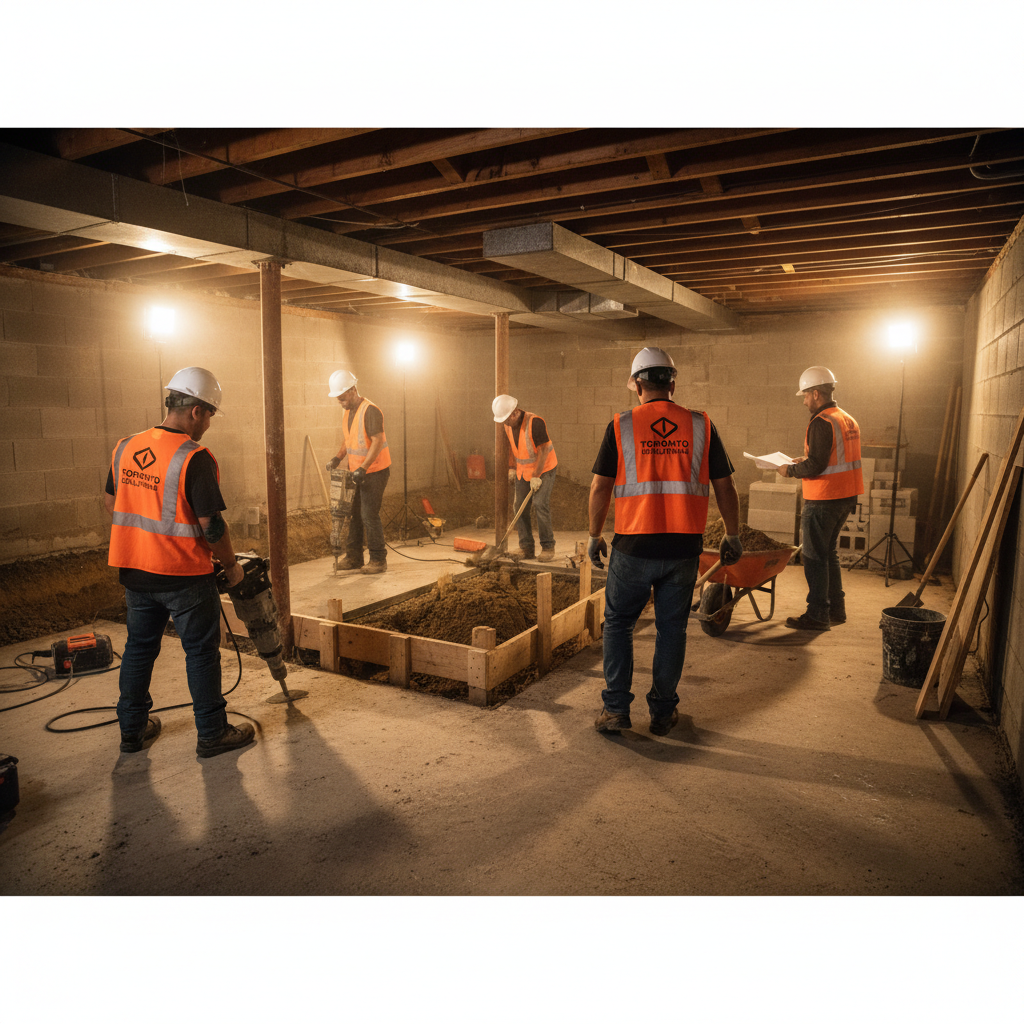
Phase 4: Excavation and Footing Pours (The Construction Heart)
This is the main phase of underpinning construction. The crew excavates beneath one pin section at a time, forms the new footing, pours concrete, and waits for it to cure before moving to the next section.
What you will experience:
Noise. Excavation of compacted clay under a Toronto foundation is physical work. Expect noise levels similar to a reciprocating hammer or demolition bar during excavation, typically 7 AM to 5 PM on weekdays. This is not like a quiet painter; it is construction-level noise.
Vibration. Minimal vibration from excavation and concrete compaction. Some older Toronto homes with loose mortar joints may develop minor hairline cracks in plaster above the basement as a result. Document the existing condition of your plaster and wall finishes before construction begins with photos and dates.
Concrete truck deliveries. On pouring days, a ready-mix concrete truck will arrive and pour concrete via chute or pump into the pin section forms. This typically takes 1 to 3 hours per section.
Intermittent access. The basement will have alternating sections that are open (active excavation) and cured (solid new concrete). The open sections are barricaded and you must stay out of those areas.
The alternating sequence: A typical underpinning project does not excavate sections in consecutive order. The engineer’s sequence alternates between sections to ensure adjacent sections are always supported. Section 1 is poured, then section 3 (skipping section 2), then section 5, then after those three sections cure, sections 2, 4, and 6 are done. This pattern continues around the perimeter.
Phase 5: Inspections
City of Toronto building inspectors visit the site at specific hold points during construction.
Footing inspection before each pour: Before any concrete is placed in an excavated section, the inspector must confirm the footing dimensions, reinforcement placement, and soil conditions match the engineered drawings. The crew cannot pour until the inspector approves.
The contractor schedules inspections through the City’s eSPACE system with 24 to 48 hours advance notice. Inspections occur during business hours (Monday to Friday). If the crew is ready to pour and the inspector is not available until the next day, the pour waits.
What you can observe: You will see the crew preparing formwork and rebar, then waiting. If there is a delay before a pour, the inspector has not yet arrived or is delayed. This is normal.
Phase 6: Below-Slab Plumbing and Waterproofing (If Included in Scope)
After the last footing section cures and before the new slab is poured, any below-slab plumbing rough-ins and waterproofing drainage channel installation happen.
This is a relatively quiet phase compared to the footing excavation and pours. A plumber installs drain connections while waterproofing crews lay the drainage channel and membrane.
A plumbing rough-in inspection must pass before the slab is poured.
Phase 7: New Slab Pour
The new concrete slab is poured over the drainage gravel, around the plumbing stubs, and leveled to the new floor elevation. This is a significant single-day event: the concrete truck arrives, the crew places and screeds the slab in one continuous operation, and the finished floor elevation is set.
What you will see: A gray concrete surface where there was previously a rough trench. The basement now has its new, lower floor level.
The 28-day cure: Structural concrete requires 28 days to reach design strength. No framing, no heavy loads, no finishing work begins on the new slab until 28 days after the pour.
Phase 8: Site Cleanup and Completion
After the slab is poured and the structural inspection is complete, the contractor removes all equipment, formwork, concrete debris, and waste from the site. The basement is left clean, with the new floor exposed, the dimple membrane visible on the lower walls, and the sump pit visible.
What the completed underpinning looks like:
- A clean concrete floor at the new lower elevation
- Visible new footings at the perimeter base (below the new floor)
- Dimple membrane on the walls from floor to approximately 1 metre height
- Sealed sump pit in the corner
- All mechanical connections (HVAC, water lines, electrical) repositioned as needed
Duration Summary
| Phase | Duration |
|---|---|
| Assessment to permit | 12 to 22 weeks |
| Site mobilization | 1 to 2 days |
| Excavation and footing pours (3 to 6 sections per week) | 3 to 8 weeks |
| Plumbing and waterproofing rough-in | 3 to 7 days |
| Slab pour | 1 day |
| Slab cure | 28 days minimum |
| Site cleanup | 1 to 2 days |
| Total construction phase | 6 to 12 weeks |
| Total from assessment to finished slab | 5 to 8 months |
What Good Contractor Communication Looks Like
The best underpinning contractors communicate proactively throughout the project. Specifically:
- You receive an updated schedule at the start of each week showing which sections will be excavated and which inspection days are expected
- You are notified same-day when an inspection is scheduled and whether it passed
- You receive advance notice (minimum 48 hours) of any slab pour day so you can plan to be available or away as you prefer
- Any change in scope, cost, or timeline is communicated in writing before the change is made
- The project manager or site supervisor answers calls and returns messages within 24 hours
A contractor who goes dark for days at a time during construction, who cannot tell you what sections were poured last week, or who presents unexpected costs at the end of the project without prior communication is not operating to the standard you should expect.
For further context, read our guides on City of Toronto Building Permit for Basement Underpinning and Waterproofing During Underpinning.
Ready to understand exactly what an underpinning project would look like for your specific home? Contact our team for an assessment that sets realistic expectations for permits, engineering, and construction from the start.